Okay, your side mirror is hanging on by a thread, or maybe it’s completely gone. It's frustrating, we get it. But before you panic and schedule an expensive mechanic visit, take a deep breath. Replacing a car mirror is often a simpler task than you might think, and with a little guidance, you can totally handle this yourself!
Learning to fix minor car issues, like a broken mirror, isn't just about saving money (though that's a definite perk!). It's about building confidence behind the wheel and becoming a more informed and responsible driver. Knowing your car a little better helps you understand how it works, and that can make you safer on the road. You'll be able to spot potential problems early and react more effectively in unexpected situations.
Here's a pro tip, especially if you’re just starting out with parent-supervised driving: before you startanycar maintenance, take pictures! Take photos of everythingbeforeyou touch it. That way, you have a visual reference if you get stuck. It's like having a rewind button for your memory!
Gathering Your Supplies
Before you even think about touching that broken mirror, you need to gather your tools and parts. Running to the store halfway through the job is a major buzzkill. Here's what you'll likely need: Replacement Mirror: This is the most obvious one! Make sure you get the right mirror for your car's make, model, and year. You can usually find these online or at your local auto parts store. Some sites even let you enter your VIN (Vehicle Identification Number) to guarantee a perfect match. Screwdrivers: A Phillips head and a flathead screwdriver are almost always essential. The size of the screws can vary, so having a set with different sizes is best. Socket Set or Wrenches: Similar to screwdrivers, the size of the bolts holding the mirror in place can vary. A socket set offers the most versatility. Pry Tool or Plastic Trim Removal Tool: This is amustto avoid scratching or damaging the interior door panel. You can find these at any auto parts store or even online. A flathead screwdrivercanwork in a pinch, but be extremely careful. Gloves: Protect your hands from sharp edges and grime. Safety Glasses: Flying debris is no fun! Optional but Recommended: Shop Rags or Paper Towels: To wipe up any spills or clean the area. Optional: Masking Tape: This can be used to protect the paint around the mirror housing.
What if I can't find the exact replacement mirror?
Finding the exact match is always ideal, but if you're on a tight budget, consider looking for used parts at a local junkyard. Just be sure to inspect the mirror carefully for any damage before purchasing. Another option is an aftermarket mirror, which is a non-OEM (Original Equipment Manufacturer) part. These are often cheaper but may not fit perfectly or have the same quality as the original. Read reviews before buying!
Removing the Old Mirror
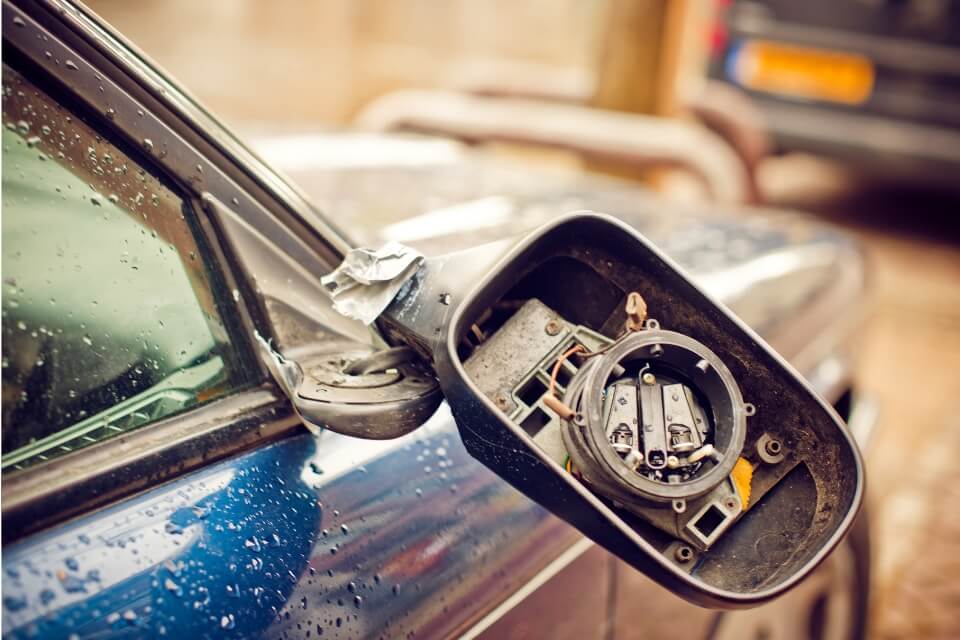
Okay, supplies gathered? Awesome! Now comes the slightly more delicate part: removing the old mirror. This process can vary slightly depending on your car model, but the general steps are usually the same:
1.Locate the Interior Cover: Most side mirrors are attached to the door with screws or bolts hidden behind a plastic cover on the inside of the door. This cover is usually triangular or rectangular and located in the upper corner of the door, near the window.
2.Carefully Remove the Cover: This is where the pry tool comes in handy. Gently insert the tool between the cover and the door panel and pry it loose. Be patient and work your way around the edges. If it's really stubborn, check for hidden screws. Some covers might have a small screw holding them in place.
3.Disconnect Any Electrical Connections (If Applicable): Some mirrors have electrical connections for features like heated mirrors, turn signals, or blind spot monitoring. Before removing the mirror completely, disconnect these connections. Usually, there's a connector that you can squeeze and pull apart.Important: Take a picture of how the wires are connected before disconnecting them so you can easily reconnect them later.
4.Remove the Mounting Bolts or Screws: Once the cover is off and any electrical connections are disconnected, you'll see the bolts or screws holding the mirror to the door. Use the appropriate socket or screwdriver to remove them. Be careful not to drop the mirror once you remove the last screw! Have someone hold it for you, or support it with tape.
5.Remove the Old Mirror: With the bolts or screws removed, you should be able to gently pull the old mirror away from the door.
People Also Ask
How do I know what size socket or screwdriver to use?
If you're unsure, start with a smaller size and work your way up. You want a snug fit to avoid stripping the bolt or screw head. If you're using a socket set, try different sizes until you find one that fits securely. For screwdrivers, match the tip of the screwdriver to the head of the screw. If it's too small, it will slip and potentially damage the screw.
Installing the New Mirror
With the old mirror out, it's time to install the new one! This is essentially the reverse of the removal process:
1.Position the New Mirror: Carefully align the new mirror with the mounting holes on the door.
2.Install the Mounting Bolts or Screws: Insert the bolts or screws and tighten them securely. Don't overtighten them, as this could damage the mirror or the door. Snug is good.
3.Reconnect Any Electrical Connections: If your mirror has electrical connections, reconnect them now. Refer to the picture you took earlier to ensure you connect them correctly.
4.Replace the Interior Cover: Snap the plastic cover back into place. Make sure it's securely attached.
5.Test the Mirror: Adjust the mirror to the proper position and test any electrical functions, such as the heated mirror or turn signal.
What if the new mirror doesn't fit perfectly?
Double-check that you ordered the correct mirror for your car. If you did, and it's still not fitting properly, make sure you've removed all the old hardware and that there's nothing obstructing the mounting surface. If it's an aftermarket mirror, it might require some slight adjustments. Be patient and don't force anything. If you're really struggling, it might be best to consult a professional.
Troubleshooting and Tips
Even with the best instructions, things can sometimes go wrong. Here are a few common issues and how to handle them: Stripped Screws: If you strip a screw head, try using a rubber band or steel wool between the screwdriver and the screw to get a better grip. If that doesn't work, you might need to use a screw extractor. Broken Plastic Clips: The plastic clips that hold the interior cover in place can sometimes break. You can usually buy replacement clips at an auto parts store. Electrical Problems: If the electrical functions of your new mirror aren't working, double-check the connections. Make sure they're secure and that none of the wires are damaged. If you're still having problems, consult a qualified electrician. Loose Mirror: If the mirror feels loose after installation, double-check that the mounting bolts or screws are tightened securely.
Extra Tips for Success
Work in a well-lit area. This will make it easier to see what you're doing. Take your time. Don't rush the process. Rushing can lead to mistakes and frustration. If you get stuck, don't be afraid to ask for help. There are plenty of online resources and forums where you can get advice from experienced mechanics and DIYers. Watch a video tutorial. Sometimes seeing the process in action can be more helpful than reading instructions. Search on You Tube for videos specific to your car model.
Replacing a car mirror is a great first step into the world of DIY car maintenance. You'll gain confidence, save money, and learn valuable skills. And who knows, maybe this will inspire you to tackle even more projects in the future! Driving is about more than just knowing learner’s permit tips, understanding parent-supervised driving, or having a perfect first-time driver checklist — it's about understanding and caring for your vehicle.