Okay, so you spilled your chocolate milkshake all over the passenger seat. Don't panic! We've all been there. Stains happen, especially when you're juggling drive-through orders and navigating those tricky after-school routes. The important thing is to tackle it quickly and correctly.
Knowing how to clean up those inevitable messes is more than just about keeping your car looking nice. A clean, fresh-smelling car is a more pleasant place to be, and a comfortable driver is a more focused driver. That extra bit of confidence can be surprisingly helpful, especially when you're still building safe habits behind the wheel.
Here’s a tip: keep a small stash of cleaning supplies in your trunk – some wipes, a cloth, and maybe even a mini spray bottle of all-purpose cleaner. Being prepared can save you a lot of stress and prevent a small spill from turning into a major eyesore.
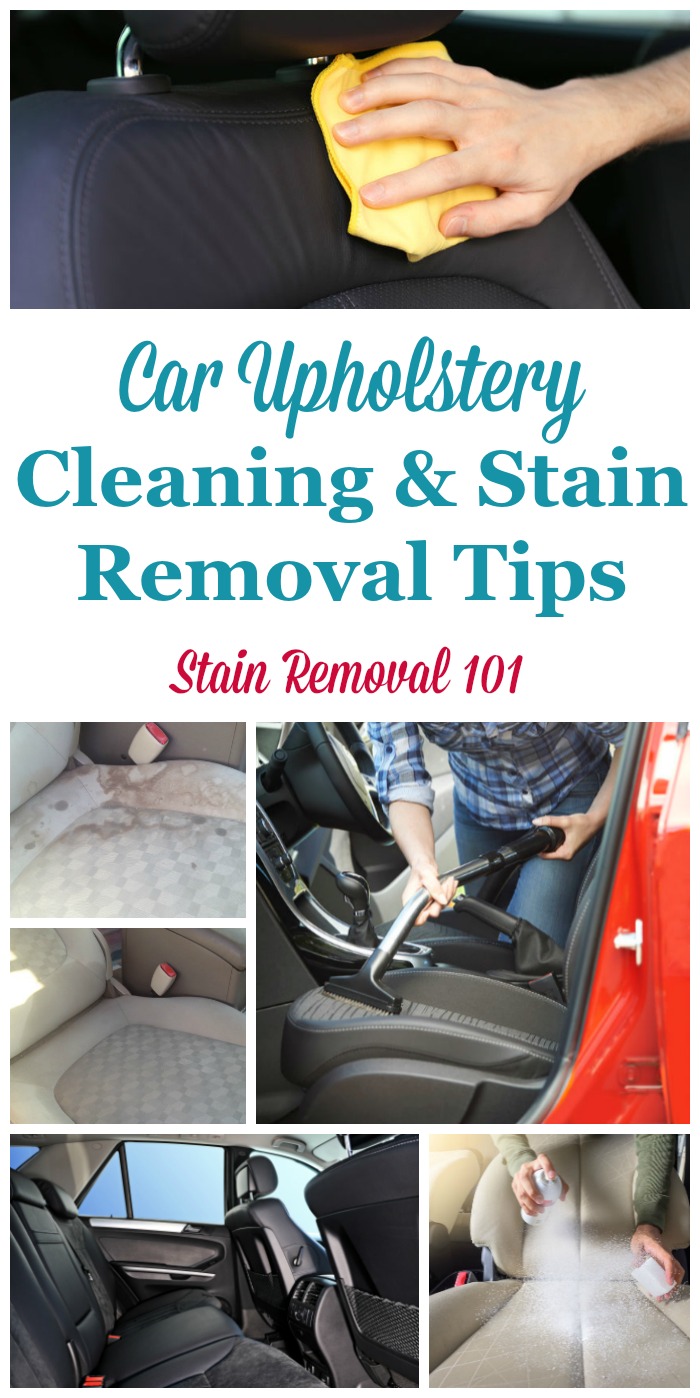
DIY Car Upholstery Cleaning and Stain Removal
Keeping your car interior clean doesn't have to involve expensive detailing services. You can totally handle most spills and stains yourself with a few basic supplies and a little know-how. Let's break down the process, step by step.
Identifying the Stain
Before you grab any cleaner, take a close look at the stain. What caused it? Knowing whether it's a coffee spill, a greasy burger fumble, or muddy footprints will help you choose the right cleaning approach. Different stains require different techniques. For example, fresh stains are generally easier to remove than old, set-in ones. Also, consider the type of upholstery in your car. Leather requires different products and methods than fabric.
Gathering Your Supplies
Here's a list of things you'll probably need: Vacuum cleaner: With a hose and upholstery attachment. Microfiber cloths: These are gentle and absorbent. Soft-bristled brush: An old toothbrush works great for small areas. Spray bottle: For mixing cleaning solutions. Upholstery cleaner: Choose one specifically designed for your car's upholstery type. Always test in an inconspicuous area first! Baking soda: A natural deodorizer and mild abrasive. Warm water: Essential for diluting cleaners and rinsing. Rubber gloves: To protect your hands.
General Cleaning Steps
Regardless of the specific stain, these steps are a good starting point:
1.Vacuum thoroughly: Get rid of loose dirt, crumbs, and debris. Pay special attention to seams and crevices.
2.Test your cleaner: Before applying any cleaner to the entire stain, test it on a hidden area of the upholstery to make sure it doesn't cause discoloration.
3.Apply cleaner: Follow the instructions on your chosen upholstery cleaner. In most cases, you'll spray it lightly onto the stained area.
4.Agitate gently: Use a soft-bristled brush or microfiber cloth to gently work the cleaner into the stain. Avoid scrubbing too hard, which can damage the fabric.
5.Blot, don't rub: Use a clean microfiber cloth to blot the stain, working from the outside in. Rubbing can spread the stain and damage the upholstery fibers.
6.Rinse (if necessary): Some cleaners require rinsing with clean water. If so, lightly dampen a clean microfiber cloth with water and blot the area to remove any cleaner residue.
7.Dry thoroughly: This is crucial to prevent mold and mildew growth. You can use a dry microfiber cloth to blot up excess moisture, and then open the car windows or use a fan to circulate air.
Specific Stain Removal Techniques
Here are some tips for tackling common car upholstery stains: Coffee or Soda: Act fast! Blot up as much liquid as possible with a clean cloth. Then, mix a solution of warm water and a few drops of dish soap. Apply the solution to the stain, blot, and rinse. Grease: Sprinkle baking soda on the stain to absorb the grease. Let it sit for 15-20 minutes, then vacuum it up. If the stain persists, use a solvent-based upholstery cleaner. Mud: Let the mud dry completely before attempting to clean it. Once dry, vacuum up as much as possible. Then, use a brush to loosen any remaining mud, and vacuum again. Finally, use a mild upholstery cleaner to remove any lingering stains. Blood: Blot up as much blood as possible with a cold, damp cloth. Then, mix a solution of cold water and a small amount of hydrogen peroxide. Apply the solution to the stain, blot, and rinse. Vomit:Clean this up as quickly as possible. Remove any solid pieces, then sprinkle baking soda on the area to absorb odors. Let it sit for several hours, then vacuum up the baking soda. Finally, use an enzyme-based upholstery cleaner to break down any remaining organic matter.
Preventing Future Stains
Prevention is always better than cure! Consider these tips: Use seat covers: They protect your upholstery from spills and stains. Clean up spills immediately: The sooner you tackle a spill, the easier it will be to remove. Avoid eating and drinking in the car: Especially messy foods and drinks. Regular vacuuming: Keeps dirt and debris from grinding into the upholstery. Consider professional detailing:For a deep clean and protection.
People Also Ask
How often should I clean my car's interior?
Ideally, you should vacuum your car's interior every 2-4 weeks to prevent dirt and debris from building up. Spot clean spills and stains as soon as they happen. A deep clean of your upholstery every 6-12 months will keep it looking its best. Think of it like your laundry – regular quick washes prevent the big, overwhelming laundry day!
What's the best way to remove pet hair from car upholstery?
Pet hair can be a real challenge! A rubber glove or a pet hair removal brush can be surprisingly effective. Dampen the glove or brush slightly and run it over the upholstery to collect the hair. You can also use a vacuum cleaner with an upholstery attachment. For stubborn hair, try using a lint roller or packing tape. Static electricity can also help – rub a balloon over the area and watch the hair cling!
Can I use household cleaners on my car upholstery?
While some household cleaners may seem tempting to use, it's generally best to stick with products specifically designed for car upholstery. Harsh chemicals can damage the fabric or cause discoloration. Always test any cleaner in an inconspicuous area first.
Tips for Maintaining a Fresh-Smelling Car
Beyond stain removal, keeping your car smelling fresh contributes to a more pleasant and focused driving experience. Here are a few easy strategies: Air Fresheners: A classic choice, but be mindful of strong scents that can be distracting. Opt for subtle, natural fragrances. Baking Soda: Place an open box of baking soda under the seat to absorb odors. Replace it every few months. Essential Oil Diffuser: A car diffuser with calming essential oils like lavender or peppermint can create a relaxing atmosphere. Regular Ventilation: Open the windows regularly to air out the car and prevent stale smells from building up. Clean Air Vents:Dust and debris can accumulate in air vents, contributing to unpleasant odors. Use a small brush or vacuum attachment to clean them.
Driving Confidence and a Clean Car
Remember that taking care of your car, inside and out, is part of being a responsible driver. It’s not just about keeping things tidy; it's about creating a comfortable and focused environment for yourself and your passengers. Addressing those spills and keeping things fresh contributes to a positive mindset, which is invaluable when you're navigating learner’s permit tips, parent-supervised driving, and eventually cruising on your own with newfound confidence. Getting comfortable with simple car maintenance tasks, including cleaning, is a great addition to your first-time driver checklist. It also helps to combat driving anxiety by giving you a sense of control and preparedness. So, grab those cleaning supplies and tackle that upholstery – you've got this!